How to Improve Video Quality with AI: Practical Guide
Improving video quality starts with identifying the actual problem. A low-resolution source needs a different solution from shaky footage, poor exposure, compression artifacts, or distracting background noise. AI can help with upscaling and certain enhancement tasks, but it cannot reliably recover details that were never captured or make every source look like native high-resolution footage.
This guide shows how to assess a clip, choose the right improvement step, and review the final export. Use PixVerse when its generation, modification, or upscale workflow fits the project; use a dedicated editor when you need precise color work, audio mixing, or manual frame repair.
Start with a Source-Footage Audit
Watch the original clip at full size before applying any effect. Write down what actually needs attention: softness, noise, camera shake, inaccurate color, clipped highlights, poor framing, or a delivery format that does not match the target platform.
Fix the issue closest to the source first. If the original is underexposed and noisy, denoise before adding aggressive sharpening. If a face is outside the final crop, reframe before upscaling. Stacking several automatic effects without review can make artifacts more visible rather than less.
Use AI Upscaling for the Right Job
AI upscaling analyzes a source clip and produces a higher-resolution output. It can make a suitable video more useful for a larger display or a higher-resolution delivery requirement, but it is not a guarantee of new, accurate detail. Fine text, logos, faces, and intricate patterns need careful review after processing.
PixVerse provides an upscale workflow for eligible videos. The current platform documentation lists input limits and credit consumption for the feature, so check the latest Upscale Video documentation and pricing page before submitting a batch.
Upscaling is most useful when the source is already reasonably clear but the target output needs more resolution. It is less useful when the original has severe motion blur, heavy compression blocks, or a subject that is too small to preserve.
Stabilize Shaky Footage Before Export
Camera shake can make a video feel less professional even when the resolution is acceptable. Stabilization works by analyzing movement across frames and repositioning the image to create a smoother path. The tradeoff is that stabilization can crop the frame or distort the edges if the shake is severe.
Use a dedicated editor’s stabilization control when you need precise adjustment. Start with a low or moderate setting, review the full clip, and increase only if the remaining shake still distracts from the action. A heavy stabilization setting can create a floating or warped look that is worse than natural handheld motion.
Reduce Noise without Erasing Detail
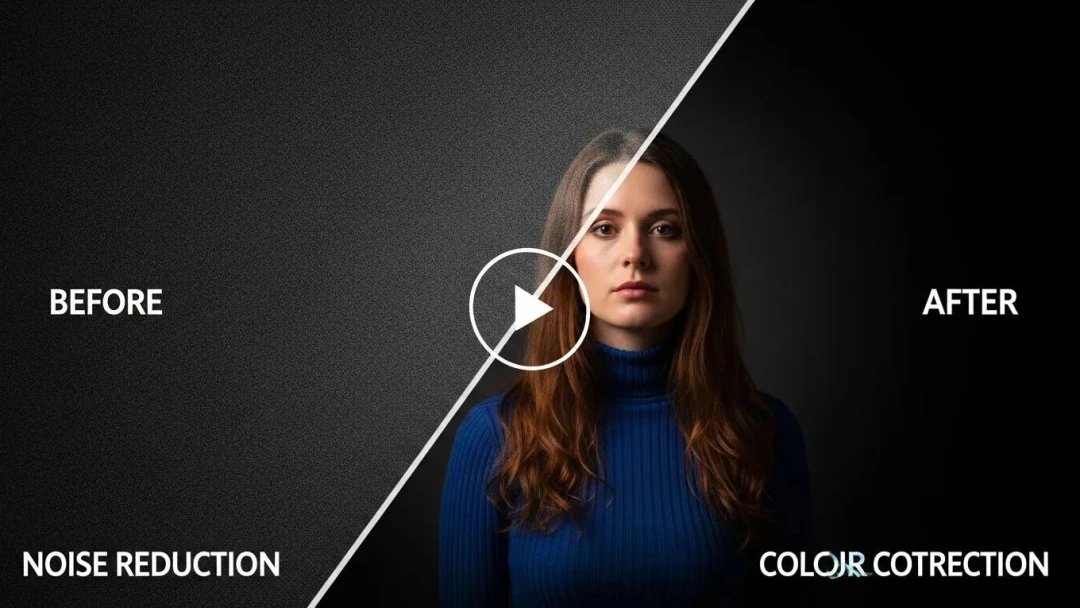
Video noise often appears in low light as crawling grain, color speckles, or unstable shadows. Noise reduction can make a scene easier to watch, but too much can smooth out skin texture, fabric, hair, or small product details.
Apply denoise before sharpening, and compare the result at normal playback speed and at a close crop. Use a short representative test clip before processing a long video. If the final distribution platform will compress the file again, leave enough natural detail so the post-upload version does not become waxy or blotchy.
Correct Color for Clarity and Consistency
Color correction is about making the footage look believable and consistent. Start by correcting exposure, white balance, contrast, and skin tones. Color grading comes after correction, when you decide on an intentional mood or brand look.
For a multi-shot video, match the clips before applying a stylized grade. Viewers notice a sudden change in daylight color or skin tone more quickly than a subtle creative look. Use scopes and reference frames when available, especially for product footage where an inaccurate color can create confusion.
Improve Quality During AI Video Generation
Many quality problems can be avoided before the final render. A clear prompt, appropriate aspect ratio, and a reference image when subject consistency matters can reduce the need for cleanup later.
In PixVerse V6, choose the output quality and format that fit the delivery target, then review the render for subject consistency, readable details, camera motion, and audio. V6 supports output up to 1080p in applicable workflows; if a project needs a higher delivery resolution, treat upscaling as a separate post-production decision rather than assuming a high-resolution export fixes every issue.
For product or branded content, use the real approved image as the reference and review every frame that contains a logo, label, or key design feature. Do not use a generated version as proof of a physical product’s exact appearance.
A Practical Video-Enhancement Workflow
1. Preserve the Best Original
Keep the original camera file or highest-quality export unchanged. Create working copies for stabilization, denoise, upscale, and color work so you can compare results or return to the source.
2. Fix the Largest Problem First
Choose one primary issue: reframing, stabilization, exposure, noise, or resolution. Make that correction, then review before adding another effect. This makes it easier to understand what helped and what introduced artifacts.
3. Test a Short Segment
Process a representative ten-to-thirty-second segment before running an entire project. Include motion, faces, text, shadows, and any detail that matters to the final video.
4. Review at the Delivery Size
Watch the result at the resolution and aspect ratio the audience will receive. Review it on a phone for social video, a desktop display for website video, or the intended presentation screen for an event asset.
5. Export for the Destination
Use a delivery codec and bitrate that the destination supports. Avoid repeatedly exporting a compressed file, since each pass can add artifacts. Keep a high-quality master for future crops and alternate format versions.
Common Quality-Improvement Mistakes
- Sharpening before denoising: This can make noise and compression artifacts more obvious.
- Upscaling every clip by default: Higher resolution does not automatically improve a poor source.
- Using one heavy effect setting: Aggressive stabilization, denoise, or grading can create new visual problems.
- Skipping platform review: A clean master can look different after social-platform compression.
- Treating generated detail as fact: AI reconstruction should be reviewed, especially for faces, text, products, and historical material.
Choose the Right Tool for Each Step
Use PixVerse when you need to generate a stronger source scene, modify a video within a supported workflow, or upscale an eligible clip. Use an editor with dedicated color, stabilization, and audio controls when the project needs precision. The best workflow is often a combination: create or enhance a scene with AI, then perform final editorial corrections in the tool best suited to the task.
Improving video quality is a review process, not a one-click promise. Begin with the strongest source you can capture, make focused corrections, and judge the final result in the context where your audience will actually watch it.