How to Add Music to a Video: Step-by-Step Guide
Music can give a video pace, emotion, and a recognizable point of view—but only when it supports the story rather than competing with it. A good soundtrack starts with the audience, format, and rights to use the track. It then needs a clean mix so dialogue, captions, and important sound effects stay clear.
This guide explains how to add music to a video with an editor, where AI audio tools can help, and what to check before publishing. If you have a finished song and want to build visuals around it, VibeMV AI is a separate song-to-video workflow; it is not a substitute for confirming the music rights for your release.
Choose the Right Music Before You Edit
Choose a track based on what the video needs to communicate. A fast product reveal may need a short, energetic cue; an educational explainer may need a subtle instrumental bed; an emotional story may need space for silence as much as music.
Listen for the track’s structure before placing it on a timeline. Identify the intro, major beat changes, chorus or payoff moments, and ending. These markers help you plan cuts, titles, and transitions without forcing every visual edit to land on a beat.
How to Add Music to a Video Step by Step
1. Confirm You Have the Right to Use the Track
Do not assume that a song is free to use because it is easy to find online. Check the license for the exact use: organic social post, paid ad, client work, commercial release, regional distribution, or a different platform can each have different terms.
Use a track you created, music that your organization has licensed, a library track with terms that cover your use, or public-domain material that has been verified for the relevant territory. Keep a record of the license and attribution requirements with the project files.
2. Import the Video and Audio into an Editor
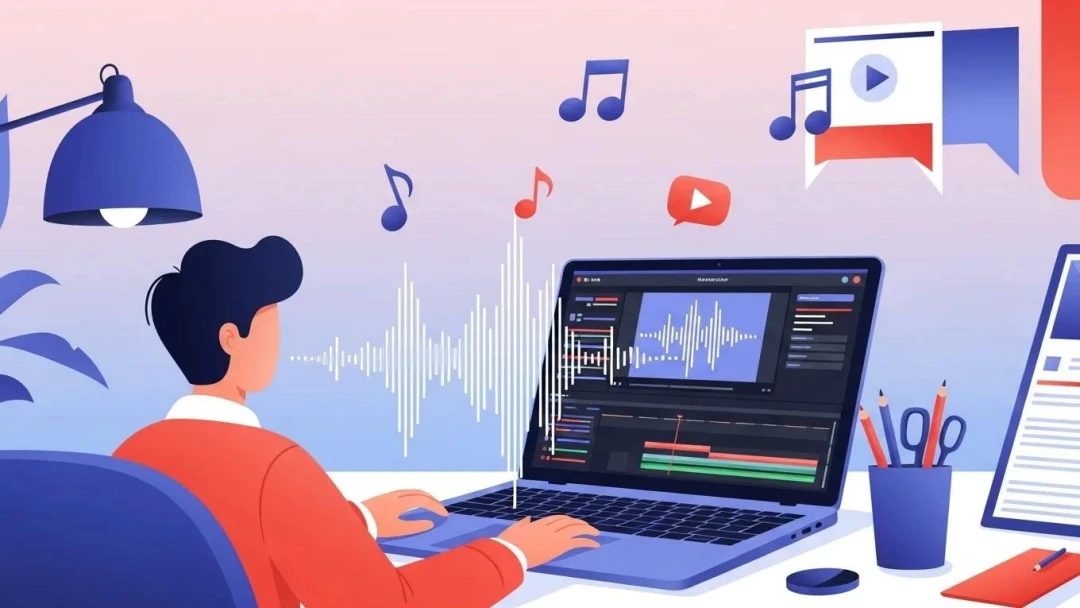
Open your video editor and add the final or near-final video cut first. Then import the music track and place it on a separate audio lane. Keeping dialogue, music, ambience, and effects on separate tracks makes it much easier to revise the mix.
Trim the beginning and end of the music to fit the story. Use a short fade-in and fade-out when the track starts or ends under a spoken line, rather than making a sudden cut that distracts the viewer.
3. Align Key Moments without Over-Syncing
Place major visual changes near meaningful points in the music, such as a beat drop, chorus, or shift in energy. You do not need every cut to follow the rhythm exactly. Over-synchronizing can make an explainer feel mechanical and can pull attention away from the message.
For a product video, choose one or two moments for intentional music sync: a reveal, an interaction, or the closing brand frame. Keep the rest of the edit readable and paced for the viewer rather than for the waveform.
4. Mix the Levels for Dialogue and Captions
Dialogue should remain understandable on phone speakers. Lower the music under voiceover, especially when the narration carries instructions, names, numbers, or a call to action. A simple volume automation curve is often enough: bring the music down during speech, then let it rise modestly in visual-only moments.
Review the final mix on headphones and on a phone. Captions improve accessibility, but they do not fix a soundtrack that overwhelms the spoken message.
5. Export and Check the Platform Version
Export a short test file, then watch it in the intended aspect ratio and platform environment. Check that the first second does not begin with a loud peak, the ending does not cut off abruptly, and no interface controls cover important captions.
Create separate exports when a 9:16 social video, 16:9 YouTube video, and square feed post need different caption placement or edit timing.
Where AI Audio Tools Can Help
AI tools can speed up sound design, but they do not remove the need for creative judgment or licensing review. Use them for tasks where a scene-specific result is more useful than a generic stock asset.
Generate Scene-Matched Sound Effects
The PixVerse Sound Effect Generator is video-first: upload a clip, describe the sound direction, decide whether to keep the original audio, and generate effects that support the scene. This can help create ambience, Foley, product-reveal cues, UI sounds, or transitions without searching through a large library.
Describe the material, environment, timing, and intensity in the prompt. For example, “soft cardboard tear, small product box opening, close-mic detail, quiet studio room tone” gives a clearer direction than simply writing “unboxing sound.”
Generate a Video from a Finished Song
When music is the starting point rather than a background layer, use a music-video workflow. VibeMV AI can take a supported audio file and turn it into a styled visual video with options for lyrics, character, and delivery format. See the AI music video guide for the complete song-to-video process.
Use Native Audio in Applicable Generation Workflows
Some PixVerse generation workflows support native audio and sound-effect settings. This can be useful when a short generated scene needs ambient sound or a simple audio cue as part of the first draft. Review the result closely, then make a final mix in an editor if the project includes voiceover, licensed music, or precise brand-audio requirements.
Music Licensing Basics for Creators
Music rights can involve the composition, recording, performance, synchronization, territory, platform, and duration of use. A license called “royalty-free” may still limit use in paid advertising, broadcast, client projects, or social-platform monetization.
Before publishing, check:
- Who owns the composition and master recording?
- Does the license cover the platforms, regions, and commercial use you need?
- Are attribution, reporting, or proof-of-purchase requirements included?
- Can the platform’s own music library be used outside that platform?
- Does an AI-generated track have terms that permit your intended distribution?
When the rights are unclear, do not publish the track with the video. Consult the rights holder, music library, or a qualified legal professional for a decision specific to your project.
Practical Audio Tips That Improve the Final Video
Keep the arrangement simple. One music track, one clear dialogue track, and only the sound effects that add information are often more effective than a crowded mix. Let silence create contrast before an important line or reveal.
Choose high-quality source files, avoid repeatedly re-exporting compressed audio, and keep a version of the edit before music is added. That makes it easier to create alternate platform versions or replace a track if the license changes.
The goal is not to make every video louder. It is to make the audio feel intentional, legal to use, and easy for the audience to understand.